Wall graphics materials are one of the fastest ways to transform a blank space into a brand experience. Whether you are refreshing a shopfront, energising a gym wall, or giving your office foyer a modern lift, the right material and installation approach makes all the difference. In this guide, we break down vinyl types, finishes, surface prep, and installation methods used across Australia so your project looks brilliant on day one and stays that way for years.
Why material choice matters
Every surface tells a story. Brick, painted plasterboard, glass, even low VOC paints each respond differently to adhesives and laminates. Choose materials with your space and purpose in mind. Retail environments often need vibrant colour and clean removability for seasonal promotions, whereas corporate interiors may prioritise long life, matte glare control, and a premium feel. Done well, wall graphics add polish without a full renovation.
Cast vs calendered vinyls
Vinyl is the hero substrate for most interior visuals and the backbone of effective wall graphics materials. Cast vinyl starts as a liquid and is cast onto a sheet, which gives it superior conformability and dimensional stability. It is ideal for gentle curves and longer terms. Calendered vinyl is rolled into shape, making it slightly thicker and great for flat, smooth walls at a sharper price point. For large indoor murals, stable calendered films often deliver excellent results. For tricky surfaces or where heat forming into mild textures is required, cast can be the safer bet. Ask for reputable architectural films from leading brands to ensure consistent print quality and colour.
Adhesives and removability
Adhesive systems are not all the same. Permanent adhesives are designed for longevity and stronger bond, while removable adhesives allow clean take-down within a specified period. Some films use air egress channels that let installers push out bubbles for a clean finish on wall graphics materials. If your tenancy agreement demands minimal residue, specify a removable adhesive with a clear removal window. For painted plasterboard, allow fresh paint to cure fully before application to avoid outgassing issues that can undermine the bond. For short campaigns that must leave walls unmarked, low-tack options paired with a quality laminate can be ideal, especially when planned with professional installers who test a sample first.
Finishes that shape the look
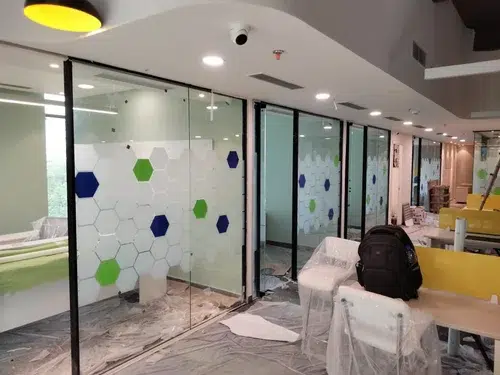
The laminate on top protects wall graphics materials from scuffs, UV, and cleaning. It also sets the visual tone. Gloss amplifies colour and depth but can show reflections under strong lighting. Matte reduces glare and reads beautifully in offices and boardrooms. Satin balances both, offering soft sheen without harsh reflections. Specialty finishes include textured sand, linen, or soft-touch velvet that add tactile interest. Clear laminates preserve the printed colours, while optically clear films are suited to glass where a frosted or decorative outcome is desired. Your lighting conditions and brand style guide should drive the choice so the surface supports, not fights, your visual identity.
Surface preparation essentials
Nothing improves results like good prep for wall graphics materials. Cleaning with an appropriate solution removes dust, oils, and silicone residues. Repair dents and fill holes so the vinyl sits smoothly. Measure humidity and temperature on install day since extremes can affect adhesion. Always test a small swatch, especially on low VOC paints or newly painted walls. A light scuff and wipe can improve bond on some surfaces, but follow the paint manufacturer guidelines. The prep checklist is short, yet it is the difference between a display that looks like paint and one that looks like a sticker.
Installation methods that last
Professional installation means consistent seams, straight alignment, and safe working around power points and door frames for wall graphics materials. Panels are usually overlapped or butted depending on film and environment. Overlaps can be micro trimmed to create invisible joins. Heat is used carefully to relax vinyl and ensure edges are sealed. Corners and edges are prime failure points, so installers post heat and apply edge sealers where needed. In high traffic areas, consider corner guards or specify tougher laminates. Choosing pros who plan lifts, staging, and access will reduce downtime for your team and keep your site compliant with OH&S requirements.
Textured and problem walls
Not all walls are smooth, and wall graphics materials on textured substrates need special care. For light texture, some cast films with heat can conform effectively. For heavy texture like brick or concrete, there are films with strong adhesives designed for exterior masonry that can also be used indoors. These require skilled heat application and roller pressure to press the film into the grooves. If removal later is a concern, discuss priming or using removable alternatives early. Sample patches reveal exactly how the film will look and behave so there are no surprises.
Design tips that work in real spaces
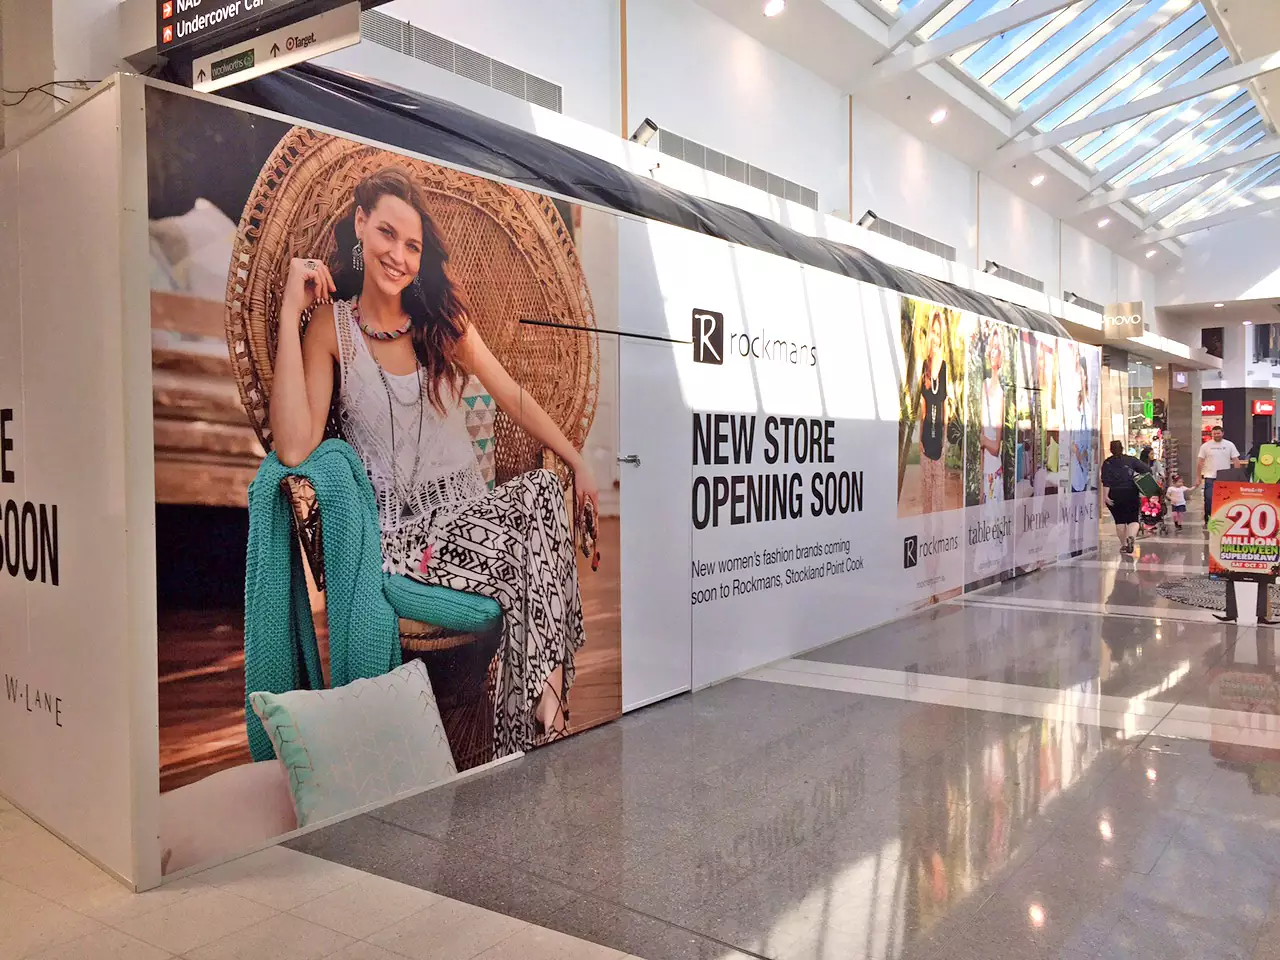
The best visuals for wall graphics materials consider human scale, viewing distance, and lighting. Large shapes and bold colour blocks are perfect for corridors where people are moving quickly. In reception areas, higher resolution imagery and subtle textures can create a premium feel. Keep type sizes generous and contrast high for readability. If you are aligning imagery across multiple panels, build panel breaks into the design where natural seams make sense. If you are branding across multiple tenancies, request a colour managed workflow to keep tones consistent across locations. When done thoughtfully, wall graphics deliver both emotion and clarity.
Compliance, safety, and maintenance
Commercial interiors often require materials that meet fire rating standards for wall graphics materials. Ask for films and laminates with relevant certifications and keep the documentation on file. Maintenance is simple. Use a soft cloth and mild detergent. Avoid harsh solvents or abrasive pads. If a section is damaged, panels can be replaced without redoing the entire wall, which is more sustainable and cost effective. Routine inspection of edges in busy zones helps catch issues early. With the right film and laminate combination, many installs will look fresh for years.
Budgeting and timelines
Costs vary by area, film grade, laminate type, print coverage, complexity, access, and installation time for wall graphics materials. Simple flat walls are most economical. Intricate cut outs, high ladders, or weekend access may add to labour. Lead times typically include design finalisation, site measure, print production, and install scheduling. Locking in dates early is wise if your changeover coincides with a store refit or national campaign. Partnering with a team that manages design, production, and installation end to end delivers a cleaner process and fewer touchpoints to juggle.
Why choose Pro Group Signs
If you want a smooth project with one accountable partner for wall graphics materials, our team can help from concept through to install. We advise on film selection, provide colour proofs, coordinate site checks, and assign experienced installers who understand commercial environments. We work with retail owners, franchises, corporate offices, tradies with showrooms, and event managers who need fast and reliable outcomes. That means you get strategic guidance and an on-brand result without the headaches of managing multiple suppliers.
Real results you can see
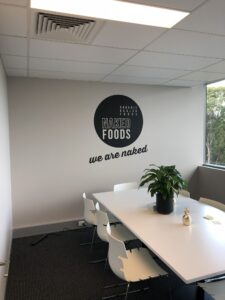
Clients use wall graphics materials to launch stores, energise offices, guide visitors, and tell brand stories that photographs alone cannot. A fitness studio can turn a dull corridor into a motivational runway. A medical practice can create calming, hygienic visuals that reassure patients. A technology company can amplify its values through bold typography and iconography that align with its digital branding. These projects prove that a single surface, treated well, changes how people feel and behave in a space.
Let’s bring your space to life
Wall graphics materials can activate your interior with professional results and minimal downtime. Our team can recommend the right film, finish and installation plan for your surface and budget. Reach out for a quick consult and a tailored quote.
Ready to roll out
Ready to bring this to life. Our Brisbane team can audit your surfaces, recommend the correct vinyl, and provide print proofs before a single panel goes up. We handle survey, artwork setup, production, and certified installation of wall graphics materials, then we show you how to care for the finished result. For a quote or site visit, contact ProGroup Signs today. Email [email protected] or call +1300 013 982. If you already have artwork, send it through and we will confirm scale, joins, and timelines so your interior looks incredible on day one and stays that way.